Show your product on a MacBook
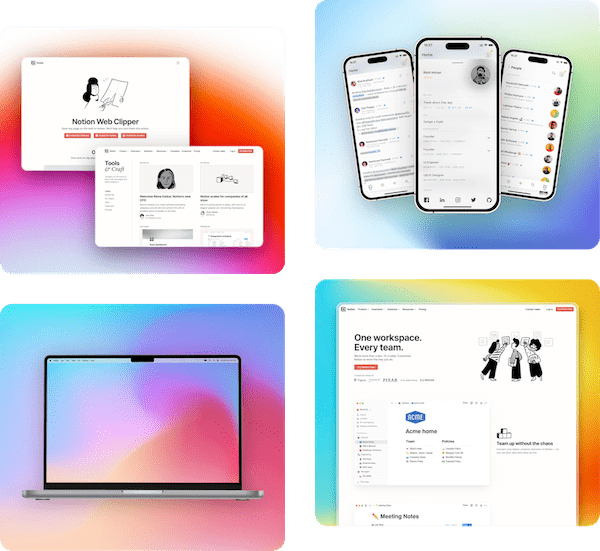
A screenshot on a laptop reads as a real product at a glance, which is why MacBook mockups are everywhere on landing pages and launch posts. Add your screenshot and Pika places it on the MacBook's screen. Then set the frame size, shadow, rotation and background.
It's free and you don't need an account. Save the mockup as a PNG or JPG, or copy it to your clipboard.
Where MacBook mockups work well
- The hero image on a landing page or a feature section
- Product Hunt and other launch galleries
- Chrome Web Store and app marketplace listings
- Pitch decks, case studies and portfolio pages
- Launch posts on X and LinkedIn
From a website to a mockup in a minute
- Capture the page with the website screenshot generator, or take a screenshot of your app.
- Add the screenshot here. Pika fits it to the MacBook's screen.
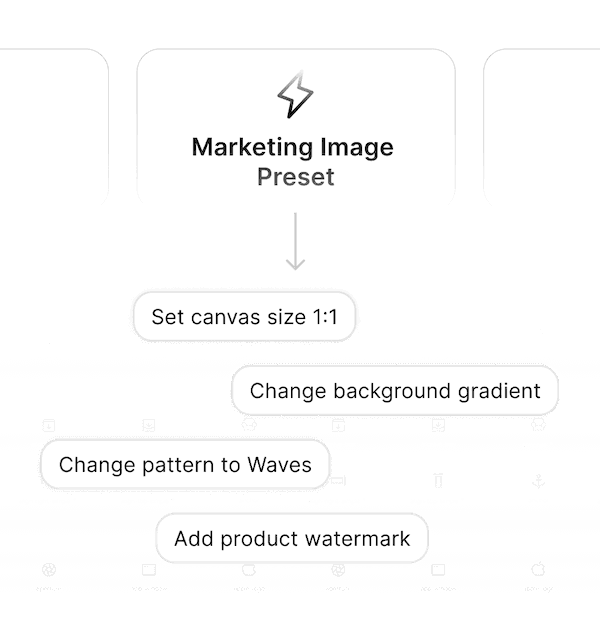
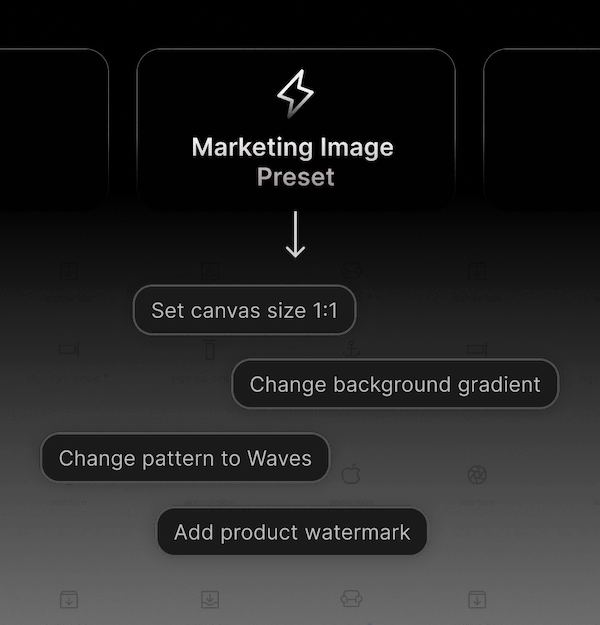
- Pick a canvas size for where the image will go, like Square for social posts, Wide 16:9 for slides or Open Graph for link previews.
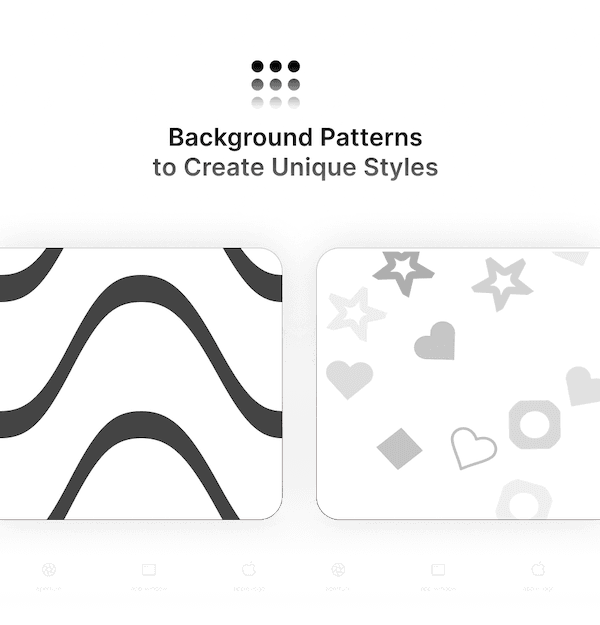
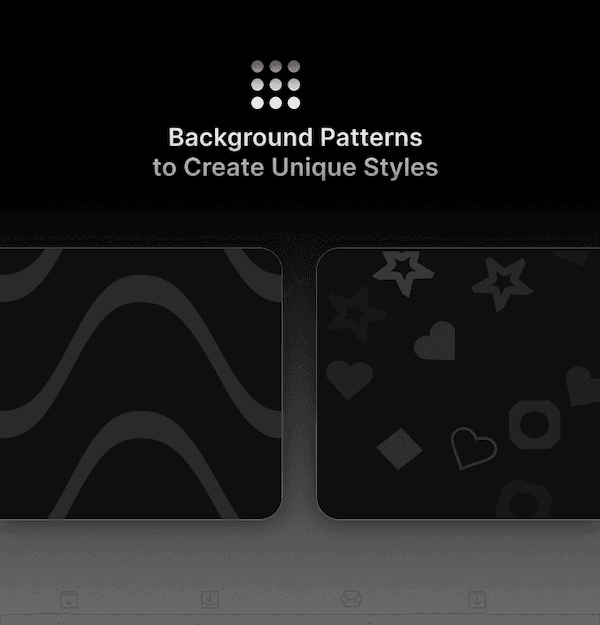
- Choose a background that suits your brand, then save it as a PNG or JPG.
Tips for a realistic mockup
- Start from a sharp screenshot. A capture from a Retina display, or a full-page capture from the website screenshot generator, keeps text crisp on the screen.
- Turn on Hide finder bar when your screenshot already has its own top bar, or when you want a cleaner screen.
- Keep the rotation and shadow subtle. Small changes look more natural than big ones.
- With Pro, choose a transparent background to export just the MacBook as a PNG, ready to place on your own site or slide, and export at 2x for up to 4K.