How to take website screenshot in Next.js
Taking screenshots manually is a big hassle — especially if you are taking multiple of those regularly using a website screenshot generator. In this blog, we’ll see how use you can use Next.js to programmatically take screenshots in seconds.
Website screenshots in Next.js
There are several ways to use Next.js to take website screenshots, but in this blog we’ll talk about 2 ways; one using Puppeteer and another using Pika which is an image generation API.
Using Puppeteer to take screenshots in Next.js
To take screenshots of websites in a Next.js application, you can use a headless browser like Puppeteer. Below are the steps to set up and take screenshots in Next.js:
Install Puppeteer: First, install Puppeteer using NPM or yarn: or
Create an API route for taking screenshots: Create a new file under the pages/api directory, for example, pages/api/screenshot.js, and add the following code:
Trigger the API route from your frontend: You can make a request to this API route from your Next.js pages or components. Here's an example of how to do that:
Run your application: Start your Next.js application to test the functionality.
npm run dev
These are the basic steps to take screenshots of websites in Next.js using Puppeteer. You can further customize the Puppeteer settings and enhance the UI according to your requirements.
If you need to take multiple screenshots, then you can simply run a loop with a .json file which has a list of websites.
Note: The above setup won’t work if you are using a serverless platform like Vercel, Netlify or Cloudflare Workers. You’ll have to use a VPS (or equivalent) for the above code to run.
Using Pika to take screenshots in Next.js
Pika is an image generation and screenshot API which has several microservices within it, and screenshots is one of them.
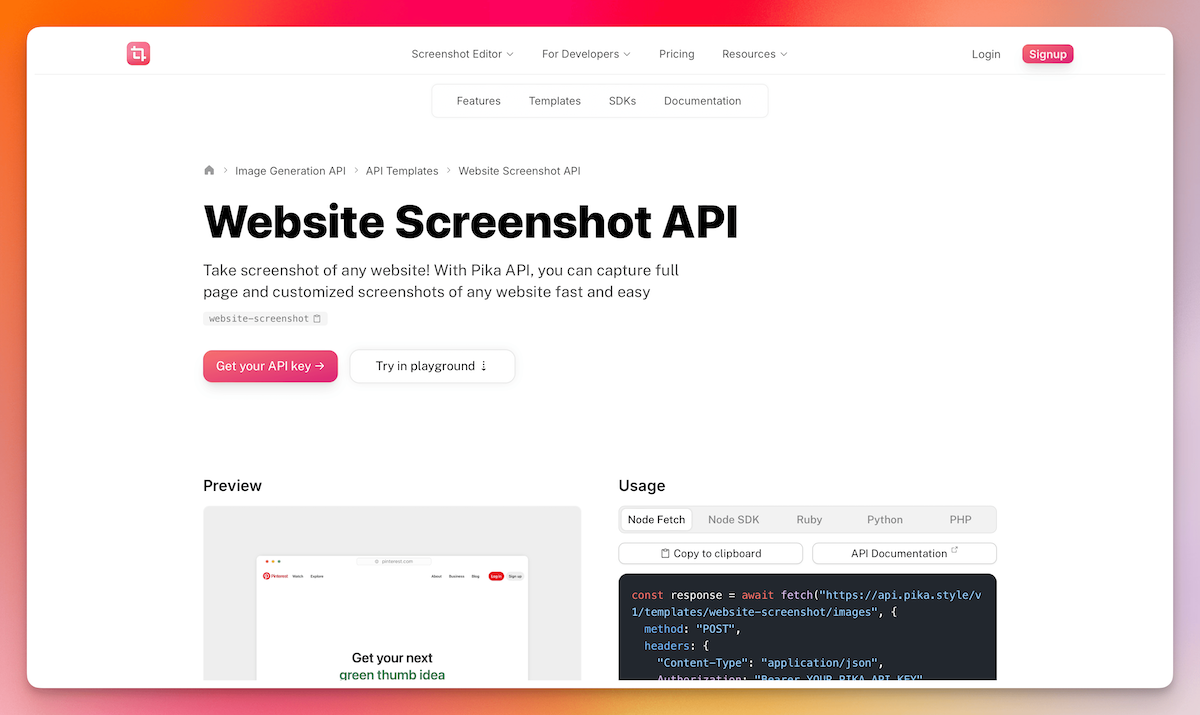
Step 1: Set Up a New Next.js Project
If you don't already have a Next.js project set up, you can create a new one using the following command:
Step 2: Create an API Route
Next, create an API route in your Next.js project to interact with the Pika API. Inside your pages/api directory, create a new file named screenshot.js.
Step 3: Create a Component to Call the API
Now, create a component that will call the API route you just set up. You can place this component in your pages/index.js file.
Step 4: Run the Project
After setting everything up, run the development server:
Similar to Puppeteer, if you want to take multiple screenshots at once, you need to run a loop with a .json file containing a list of websites.
Benefits of Pika over Puppeteer
There are several benefits of using Pika over Puppeteer, let’s go through them one by one.
Easy to use: The first and foremost benefit of Pika over Puppeteer is its ease of use. Simply plug in the API and you are ready to get started.
VPS not required: Unlike Puppeteer, Pika doesn't need a VPS to operate. You can effortlessly run your Next.js app for free on platforms like Vercel when using Pika.
Additional options: With Pika, you can do more than just take screenshots, as it comes with several other functions. You can beautify screenshots, dynamically generate OG images, and much more.
Integrated image CDN: Pika also includes an integrated image CDN for generated images, ensuring that your images load superfast.
Zapier support: While this is a guide with code, Pika also supports no-code use cases with native support for Zapier.
Conclusion
Now that you know how to use Pika and Puppeteer to take screenshots programmatically in Next.js, it’s your choice to see what works best for you.
While both are great choices, Pika comes with a few added advantages, like multiple templates and Zapier support. Signup now to start using Pika for free.
