Adding an arrow or a label to a screenshot should take a few seconds. In Pika it took longer than it should have: shapes landed in a fixed spot, arrows were straight, and fixing a mistake meant starting over.
So I rebuilt how annotations work in the screenshot editor. Here's what changed, starting with the things you'll use most.
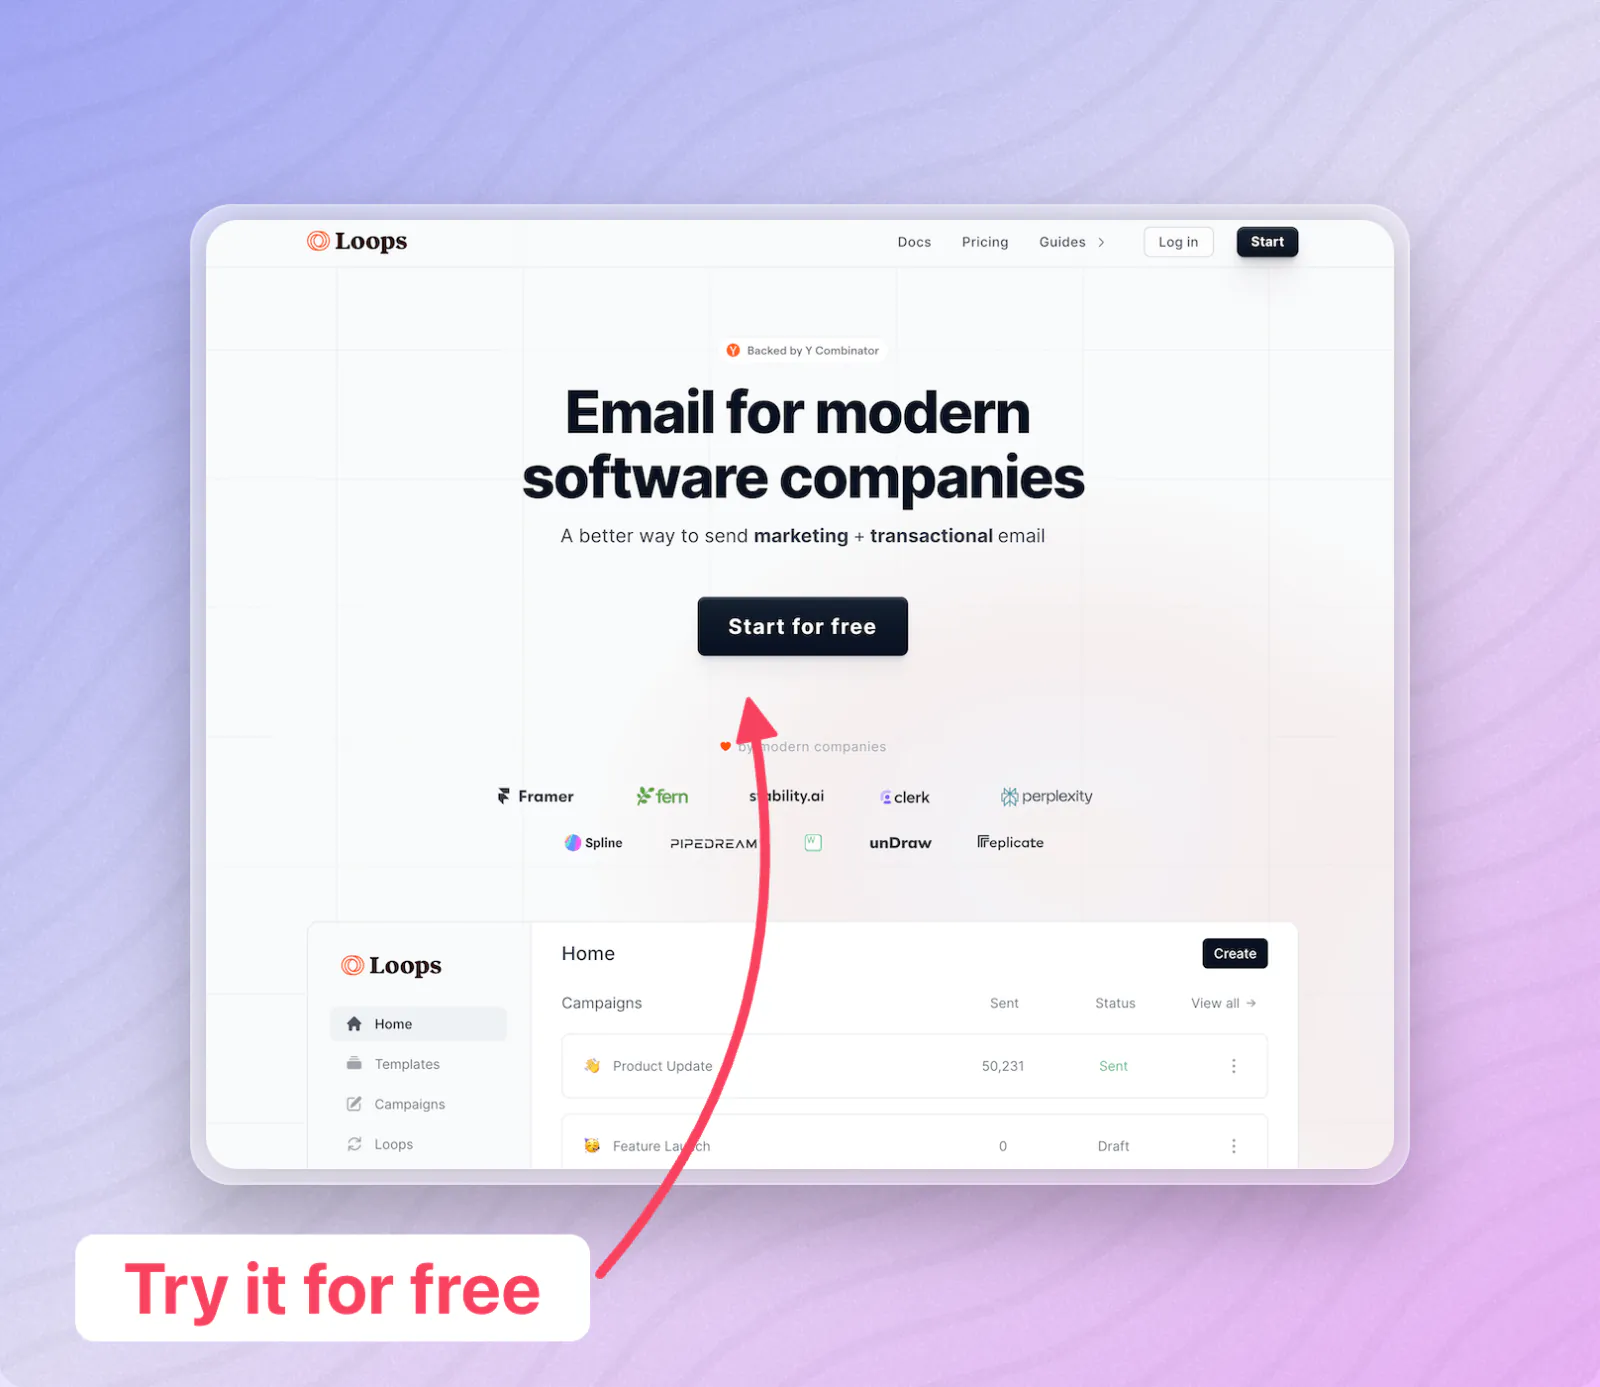
Arrows and lines that curve
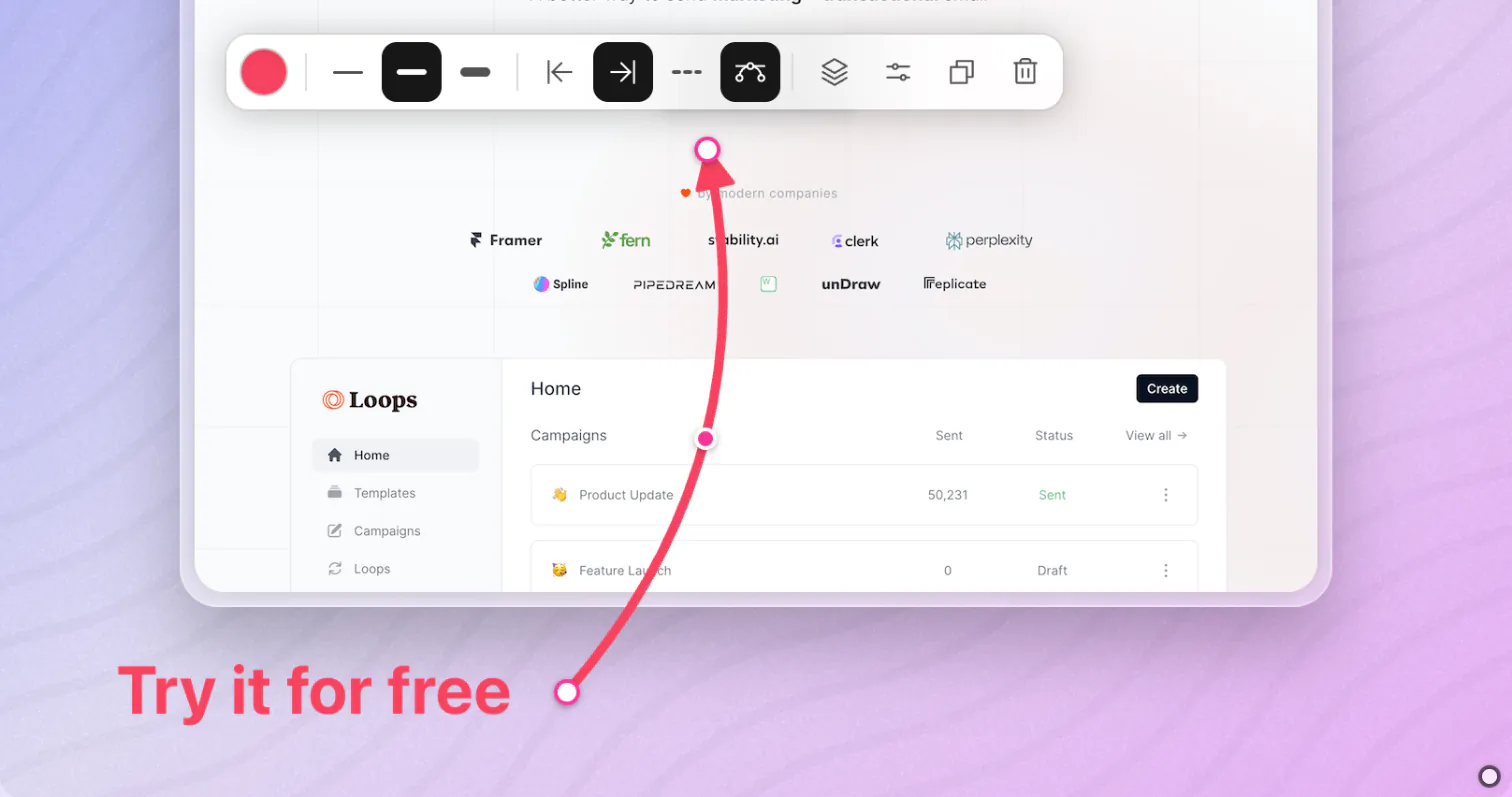
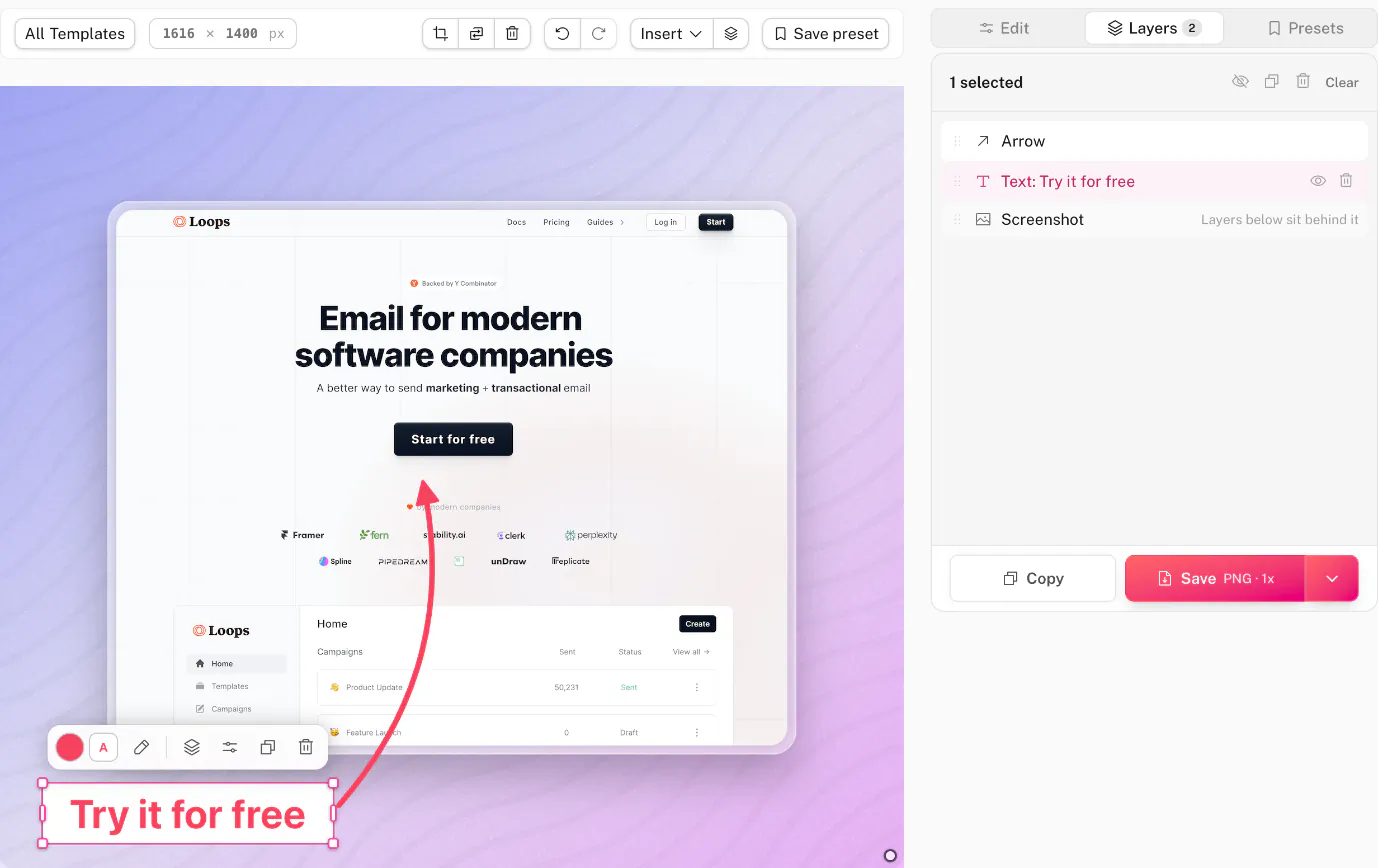
Arrows and lines now have a handle in the middle. Drag it to bend the line into a curve. Drag either end to stretch it, and the curve keeps its shape instead of flattening out. The arrowhead follows the curve, so it always points where the line is going. Double-click the middle handle to make it straight again.
From the toolbar above the arrow you can change the colour and thickness, put arrowheads on one end or both, or make it dashed. Hold Shift while dragging to snap the angle.
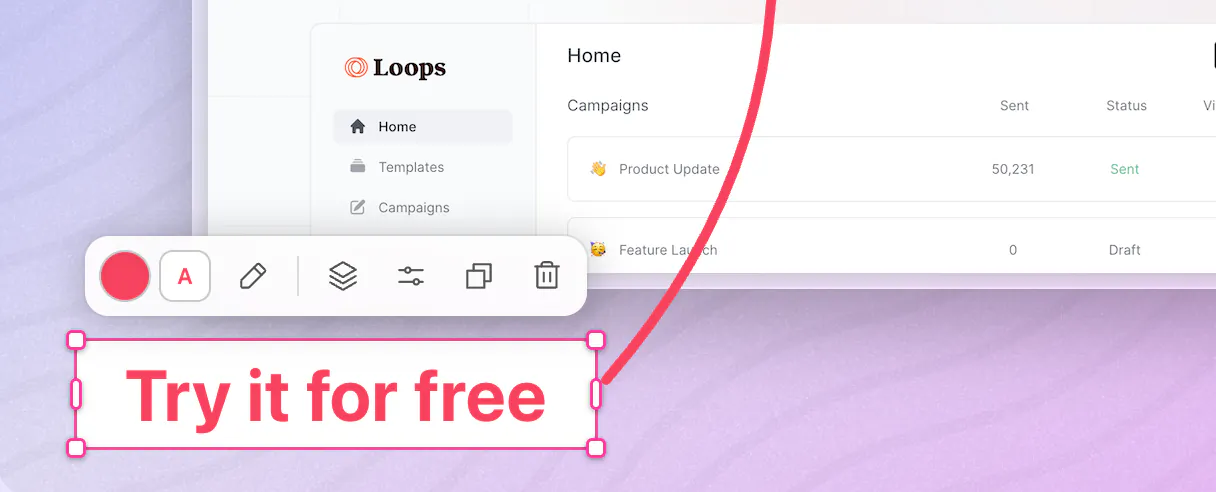
Text with a background
Text can now have a background colour, which makes a label readable on top of a busy screenshot. Pick the text colour and the background from the toolbar that appears when you select it, and double-click (or press Enter) to edit the words in place.
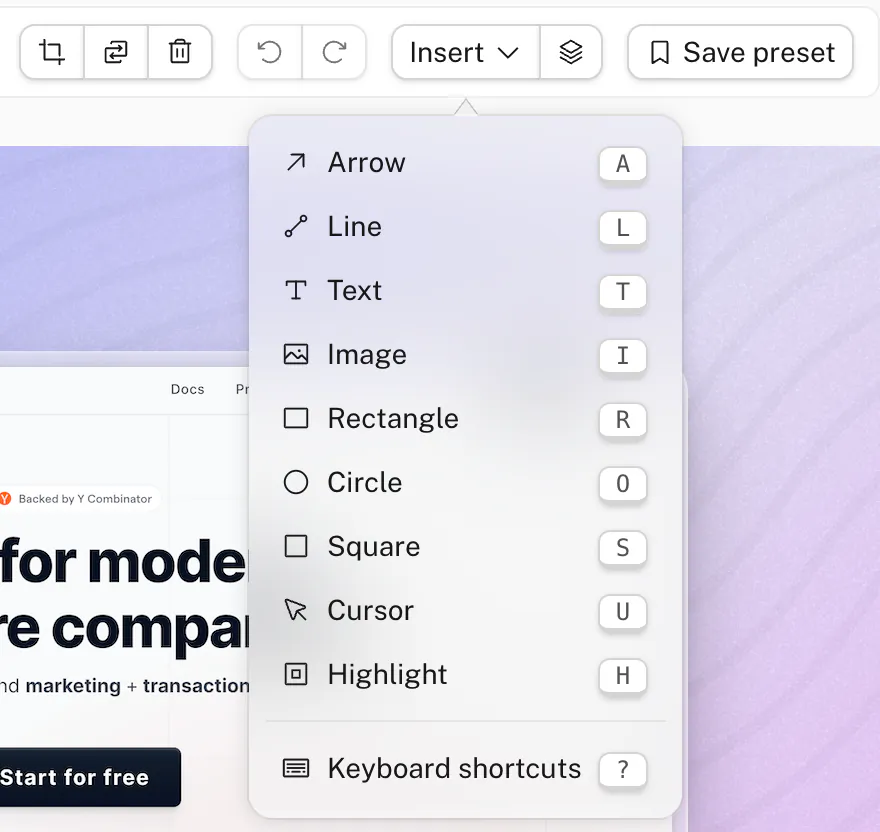
Draw shapes where you want them
Pick a tool from the new Insert menu, or press its key (A for arrow, R for rectangle, T for text and so on), then drag on the canvas. The shape is drawn exactly where you drag, at the size you want. When you use a key, a short "Added arrow" note confirms it.
Every shape gets the same small toolbar when selected: colour, style, layer order, duplicate and delete. Hold Shift or ⌘ to select several and move them together.
Every annotation is free except text, which is part of Pro.
A simpler Save and Copy
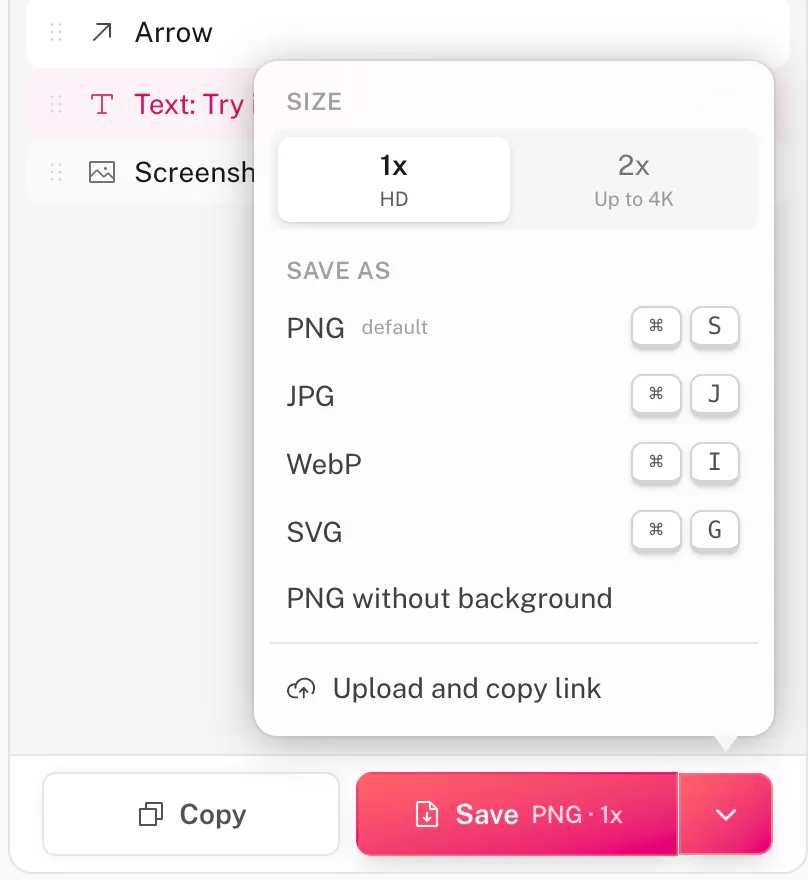
The export buttons were crowded, so now there are just two: Copy and Save. The Save button shows what you'll get, like "PNG · 1x". The arrow next to it opens everything else: 1x or 2x size, PNG, JPG, WebP or SVG, PNG without the background, and upload with a shareable link. Pika remembers the format you pick, and the change applies to every Pika tool.
Canvas sizes made for a platform, like a YouTube thumbnail, now export at that platform's exact pixel size.
Undo, and your work survives a reload
You can undo and redo any change with ⌘Z and ⌘⇧Z, or the buttons above the canvas. If you close the tab or reload by accident, your screenshot, annotations and settings come back where you left them. This is saved in your browser only.
Layers
The new Layers tab lists every annotation. Drag a layer up or down to change what's on top. Drag one below the screenshot to tuck it behind. You can also hide, duplicate or delete layers, or select several at once.
Move the screenshot by dragging
You can now drag the screenshot itself around the canvas. It snaps to the centre and to the spots in the Position grid, and guides show where it will land. Hold Shift to keep it on one axis. Free accounts snap to the nearest grid spot, and Pro can place it anywhere.
Crop, replace and shortcuts
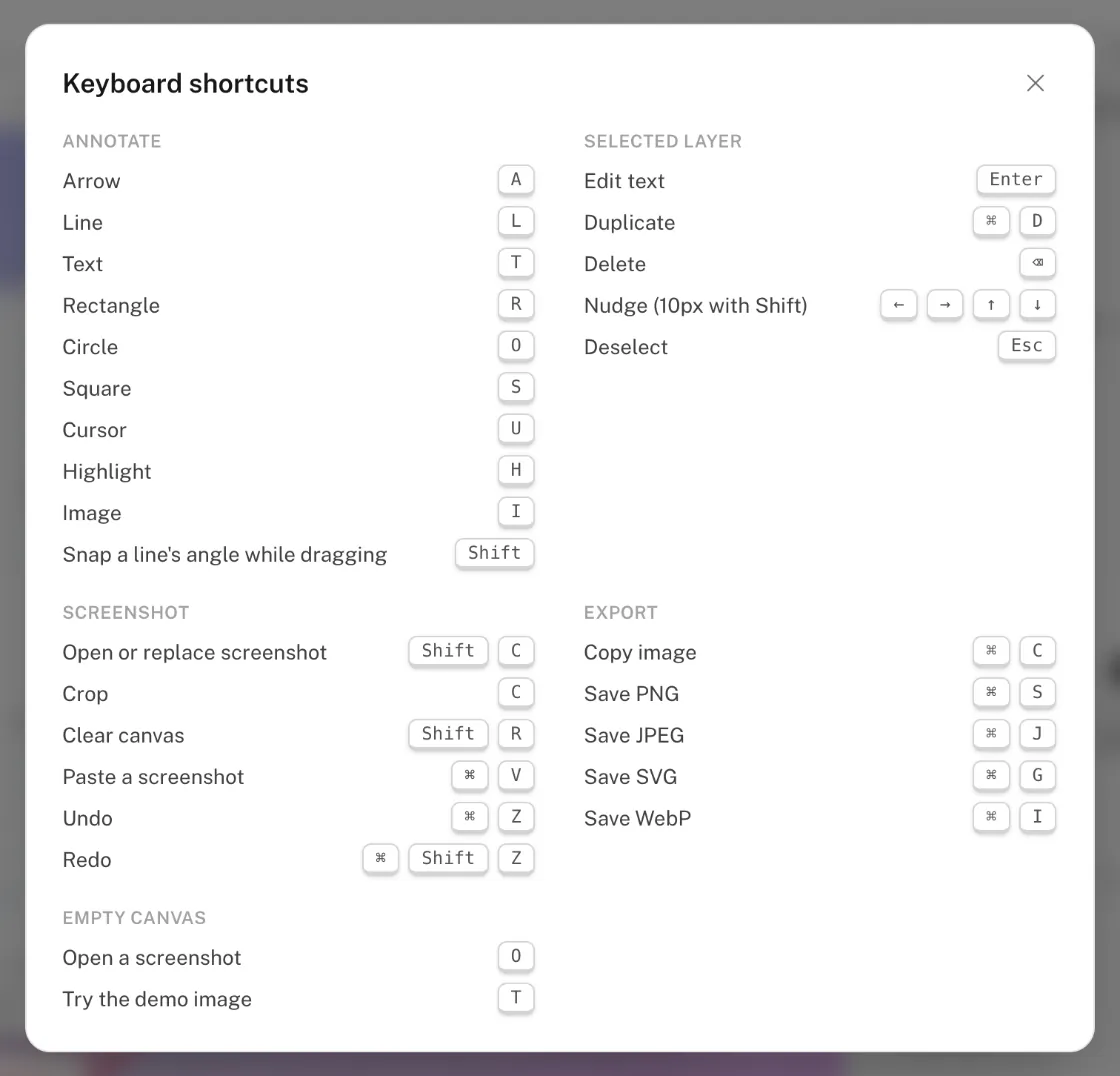
Crop, replace and clear now sit in the toolbar above the canvas, next to the image size in pixels. Press ? to see every keyboard shortcut in one place.
Presets in one place
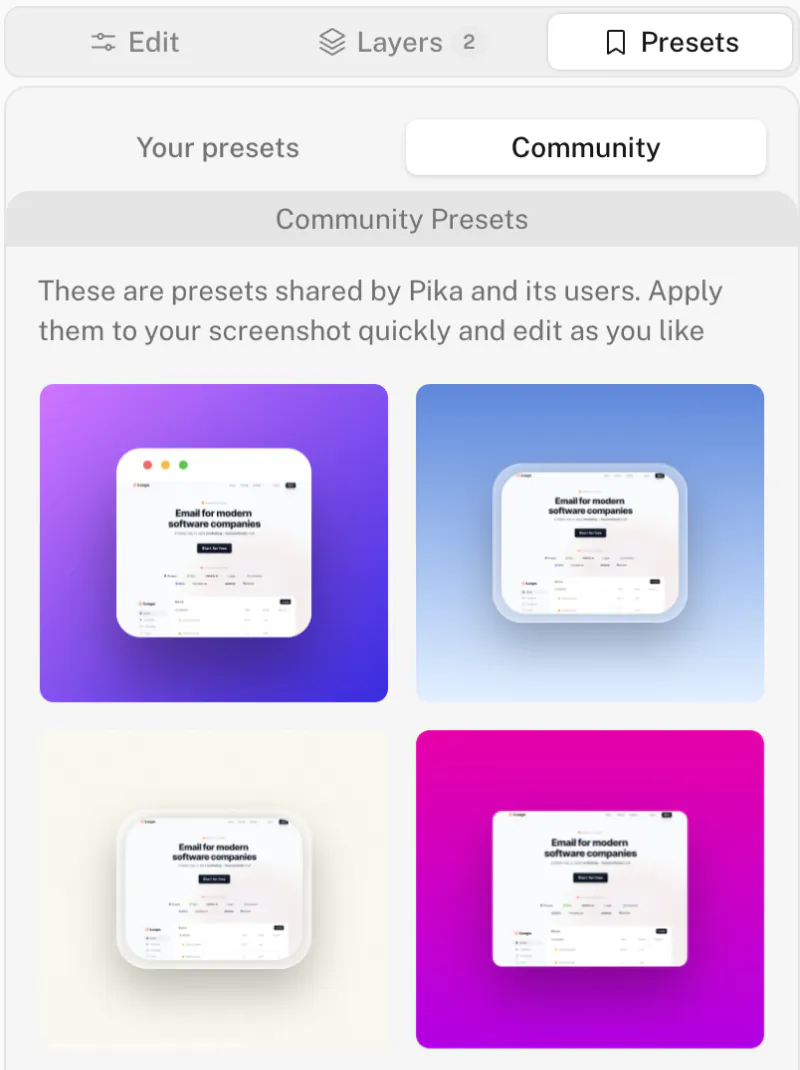
Your presets and community presets now share one Presets tab, and community presets load much faster. When you save a preset, you can tick "Include annotations" to keep your arrows and labels in it too.
Smaller fixes
- Selection outlines, handles and hidden layers never end up in the exported image.
- Tilt can be adjusted with the keyboard.
- Dragging shapes is smoother on large canvases.
- Clearer messages when a capture or export fails.